Using SQL Server as the relational database system for the HLU Tool will provide performance, reliability and volume benefits over Microsoft Access. But if some of the users don’t have authority to use SQL Server’s Management Studio (SSMS), or aren’t familiar with using SSMS, then one solution is to create an Access database front-end and link it to the HLU Tool database in SQL Server.
Many users will be more familiar with Access, so linking Access to SQL Server in this way allows users to view and edit the HLU Tool data without needing authority to use SSMS and without any risk of altering the database structure or settings. Using Access as a front-end to the database in this way also allows users to create and share Access queries, forms and reports specific to their needs.
Note
Database administrators need to ensure that users of the Access database have the necessary permissions to view and edit the data tables on the target SQL Server database.
The process of linking an Access database to a SQL Server database can be complex and necessitates that you know the connection settings for the target database. The following instructions describe how to link to an existing installation of the HLU Tool database running on SQL Server. It should not matter which version (i.e. SQL Server or SQL Server Express) is installed or which release, as long as it is meets the System Requirements.
Note
It is also possible to link the exporter database to other relational databases, such as PostGIS, but instructions for this are not provided in this guide.
The following instructions describe how to link an Access database to a SQL Server database:
Make sure your SQL Server service is running and the HLU Tool database is attached.
Open the destination Access database in which you wish to create the linked tables.
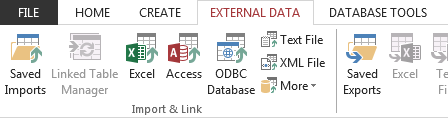
On the ‘External Data’ tab, in the ‘Import & Link’ group, click ODBC Database as shown in External Data tab.
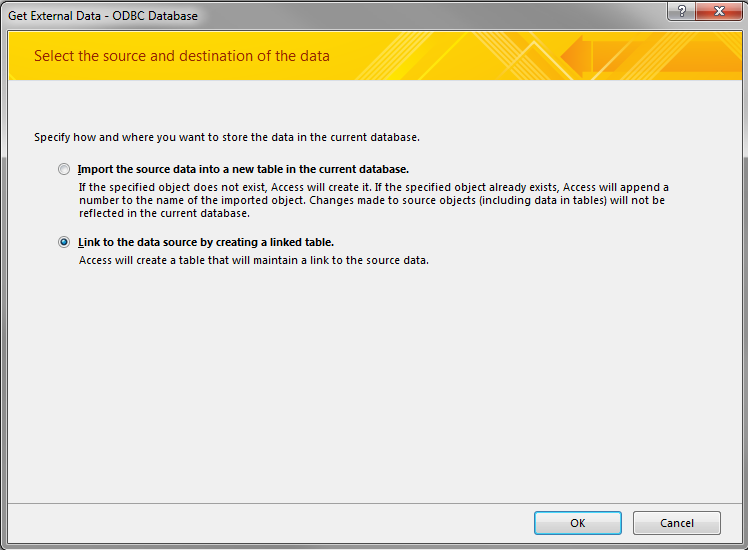
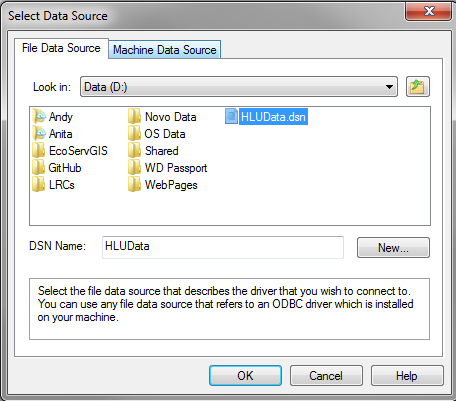
In the ‘Select Data Source’ dialog box as shown in Select Data Source dialog, if the DSN file you want to use already exists, locate and select the DSN file. If you haven’t yet created a DSN file for the target database skip to Creating a new DSN file then continue from the next step.
Under ‘Tables’, click each table that you want to link to, and then click OK.
Note
Many of the tables in the list are internal SQL Server tables. Do not select these - only select the HLU Tool export, data and lookup tables.
If the ‘Select Unique Record Identifier’ dialog box appears, Access was unable to determine which field or fields uniquely identify each row of the source data. In this case, select the field or combination of fields that is unique for each row, and then click OK. If you are not sure, check with the SQL Server database administrator.
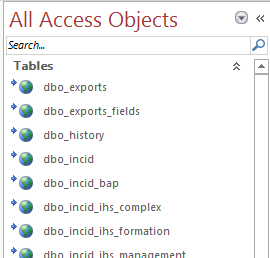
If the link is successful Access will display the new linked tables in the Objects Navigation Pane as shown in Access Objects Navigation Pane.
The following instructions describe how to create a new .dsn file for the HLU Tool database:
Click New to create a new data source name (DSN) file. The ‘Create New Data Source’ wizard will start.
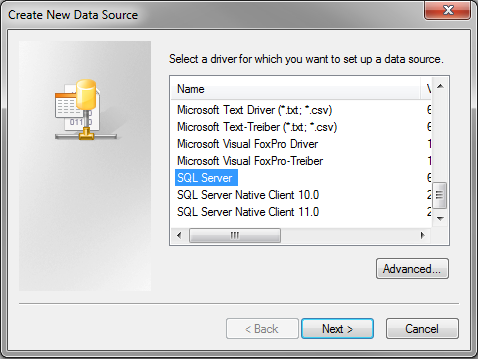
Select SQL Server in the list of drivers (as shown in Create New Data Source - Select Driver dialog) and then click Next. If you are connecting to a different database then select the relevant driver.
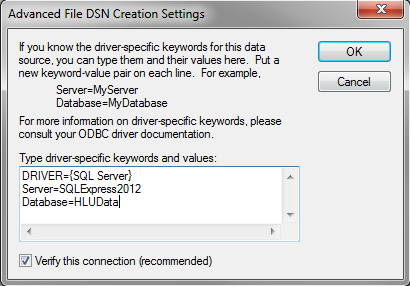
If you wish to enter the ‘Server Name’ and ‘Database Name’ at this stage click on Advanced… and enter them under the DRIVER keyword (see Create New Data Source - Advanced DSN dialog for example). Then click OK to return to the ‘Create New Data Source’ wizard.
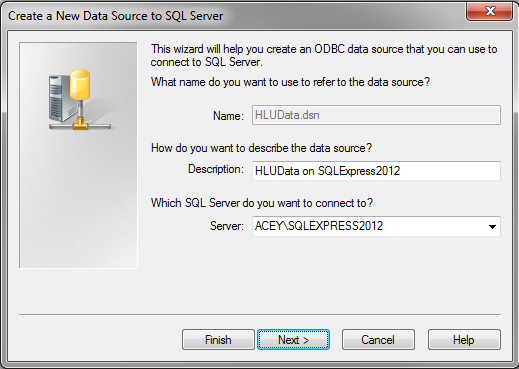
If you didn’t enter the server and database names earlier you will be prompted for them now. Enter a description for the data source and then from the list choose which server you want to connect to (see Create New Data Source - Select Server dialog for example). Then click Next.
If the server doesn’t appear in the list then manually type the server name it into the Server field
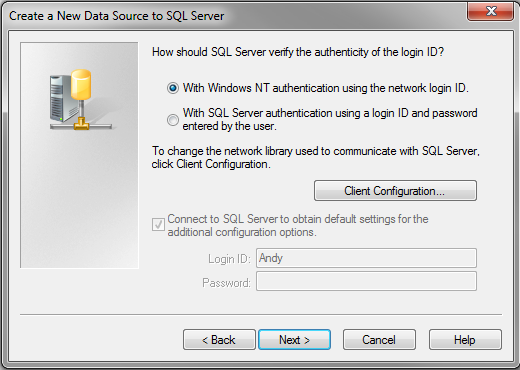
Choose either Windows NT authentication or SQL Server authentication, as shown in see Create New Data Source - Authentication dialog, depending on how the security settings have been defined in the SQL Server database then click Next. If you are not sure, check with the SQL Server database administrator.
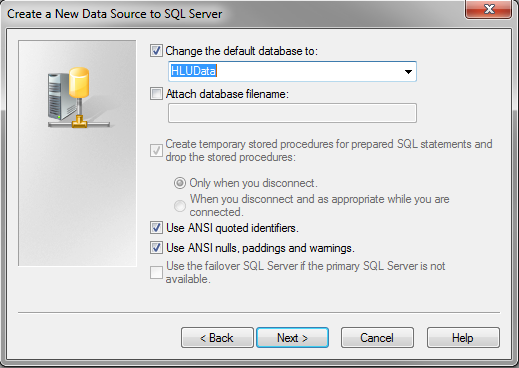
Select the ‘Change the default database to’ checkbox and then from the list select which database to connect to (see Create New Data Source - Select Database dialog for example). Then click Next.
Leave all the settings as the default values and click Finish.
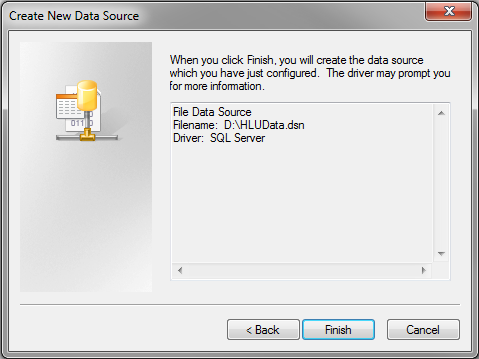
A summary of the ODBC Setup will be displayed (see Create New Data Source - Summary dialog for example). Click Test Data Source … to ensure the settings are correct and the connection works and then click OK to close the test window.
Click OK to save the DSN. You will then be returned to the ‘Select Data Source’ window to continue linking a new database (see Linking a new Access database).
Note
Once you have defined a DSN for your HLU Tool database you won’t need to repeat steps 6 to 14 if you need to link another Access database in future.
Each time you open a linked table you will see the latest data displayed in it. However, structural changes made to a SQL Server table are not automatically reflected in a linked table. In this case you will need to update the linked table by applying the latest SQL Server object structure.
The following instructions describe how to update the links from an Access database to a SQL Server database:
Make sure your SQL Server service is running and the HLU Tool database is attached.
Open the destination Access database in which you wish to create the linked tables.
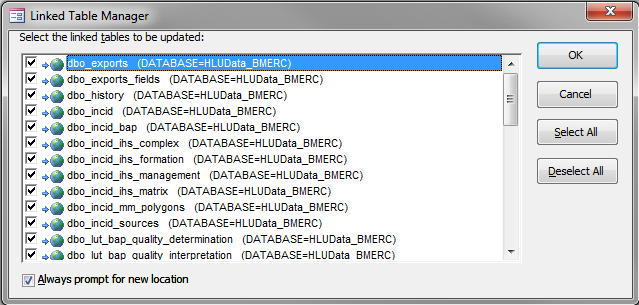
On the ‘Database Tools’ menu click Linked Table Manager as shown in External Data tab.
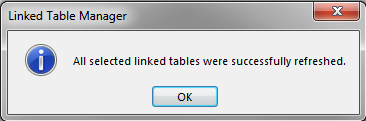
If the update if successful Access will display a message to that effect as shown in Linked Table Manager Success dialog. Otherwise Access will display an error message.